# Create blocks
A block is a structured object composed of elements where the root element is always a container element. It's important to understand that containers elements can be nested in order to create advanced layouts.
# Add a Container
To create a new block in a document you need to add a block container :
- select the document clicking on the select_all icon at the bottom right of the toolbar
- click on the add (add block)
You will prompted by a window to select the grid columns you want to add
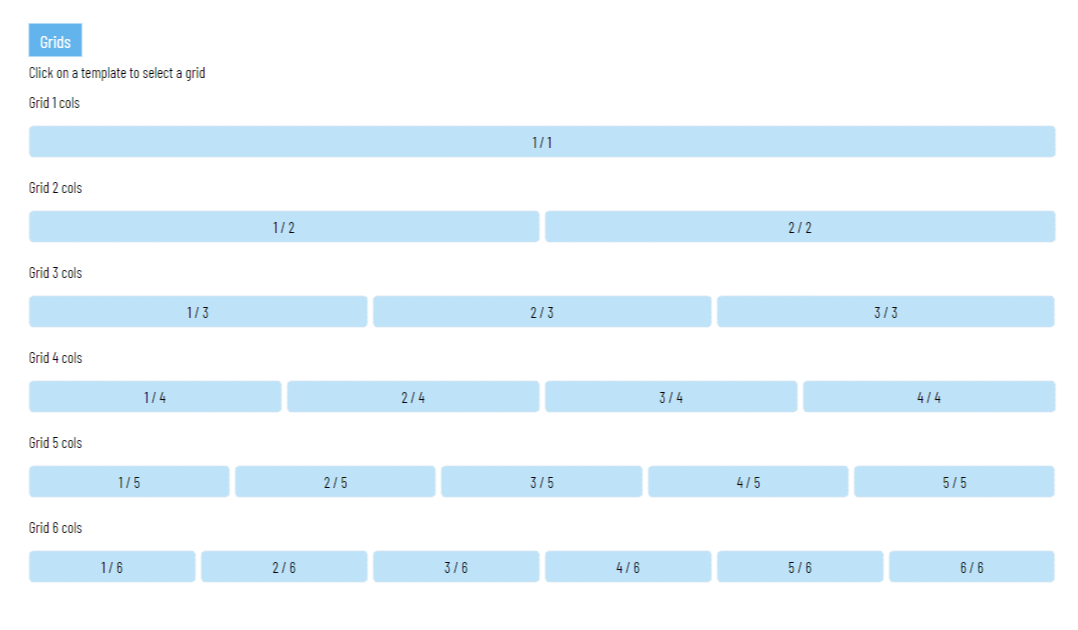
Depending on the columns number you have selected you can selecte a column template
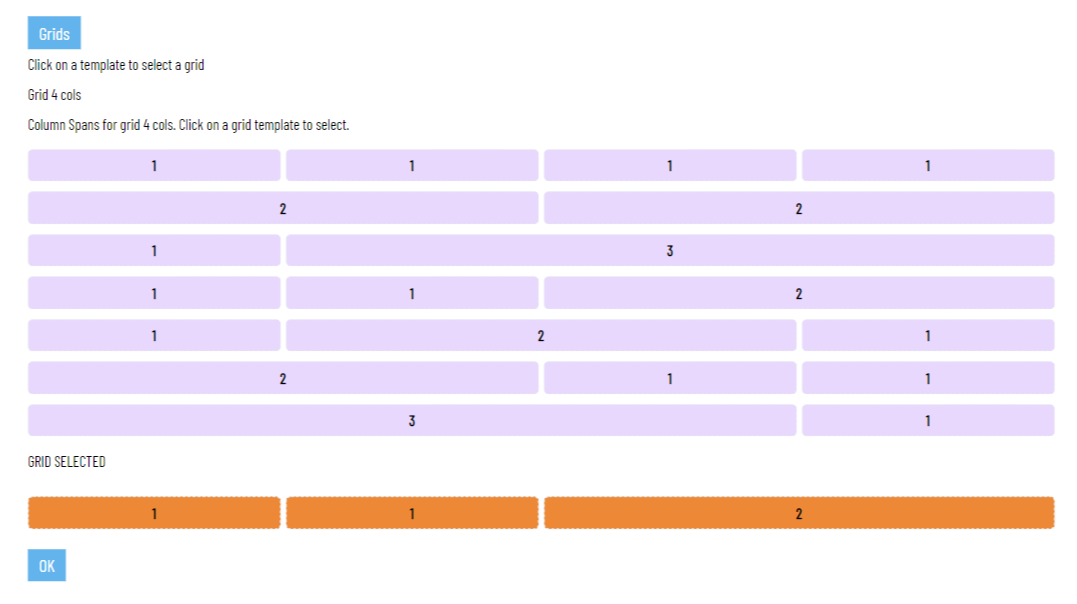
In the example has been selected a 4 column template with a column span 1 1 2.
MOKA Studio will automatically create a block with the following elements:
- a 4 column grid
- 1 flexbox colspan 1
- 1 flexbox colspan 1
- 1 flexbox colspan 2

# The Block object
MOKAStudio will create a correspondent object
    {
        "id":"moka-q5w0e",
        "css":"",
        "tag":"document",
        "image":null,
        "blocks":[
            {
                "id":"moka-m5fdc",
                "css":{
                    "css":"",
                    "container":"grid md:grid-rows-1 md:grid-cols-4 grid-cols-1 grid-rows-4"
                },
                "tag":"container",
                "cols":4,
                "icon":"view_column",
                "link":"",
                "rows":[],
                "type":"grid",
                "image":null,
                "label":"Columns",
                "style":"",
                "content":"",
                "element":"grid",
                "semantic":""
                "blocks":[
                    {
                        "id":"moka-13wx5",
                        "css":{
                            "css":"",
                            "container":"flex flex-col md:col-span-1"
                        },
                        "tag":"container",
                        "icon":"highlight_alt",
                        "link":"",
                        "rows":[],
                        "type":"flex",
                        "image":null,
                        "label":"Flexbox",
                        "style":"",
                        "blocks":[],
                        "content":"",
                        "element":"div",
                        "semantic":""
                    },
                    {
                        "id":"moka-wwh3v",
                        "css":{
                            "css":"",
                            "container":"flex flex-col md:col-span-1"
                        },
                        "tag":"container",
                        "icon":"highlight_alt",
                        "link":"",
                        "rows":[],
                        "type":"flex",
                        "image":null,
                        "label":"Flexbox",
                        "style":"",
                        "blocks":[],
                        "content":"",
                        "element":"div",
                        "semantic":""
                    },
                    {
                        "id":"moka-2ux51",
                        "css":{
                            "css":"",
                            "container":"flex flex-col md:col-span-2"
                        },
                        "tag":"container",
                        "icon":"highlight_alt",
                        "link":"",
                        "rows":[],
                        "type":"flex",
                        "image":null,
                        "label":"Flexbox",
                        "style":"",
                        "blocks":[],
                        "content":"",
                        "element":"div",
                        "semantic":""
                    }
                ]

            }
        ]
    }
The HTML output will look like:
<div class="grid md:grid-rows-1 md:grid-cols-4 grid-cols-1 grid-rows-4">
	<div class="flex">

    </div>
	<div class="flex">

    </div>
	<div class="flex md:col-span-2">

    </div>
</div>
Notice that MOKAStudio sets the classes for responsive output automatically
MOKAStudio renders the HTML only in preview mode.
You can check the editor's HTML code, but it could look quite different. This is because the editor has many controls and settings for the final rendering.
The editor also adds some spacing between blocks and element in order to easily access and edit them. To check your final design always click on Preview
# Add Elements
Click on one of the suggested areas. The current element (a flexbox) will be highlighted with a red dashed border and a floating bar will be displayed.

Click on the add
# Element selector
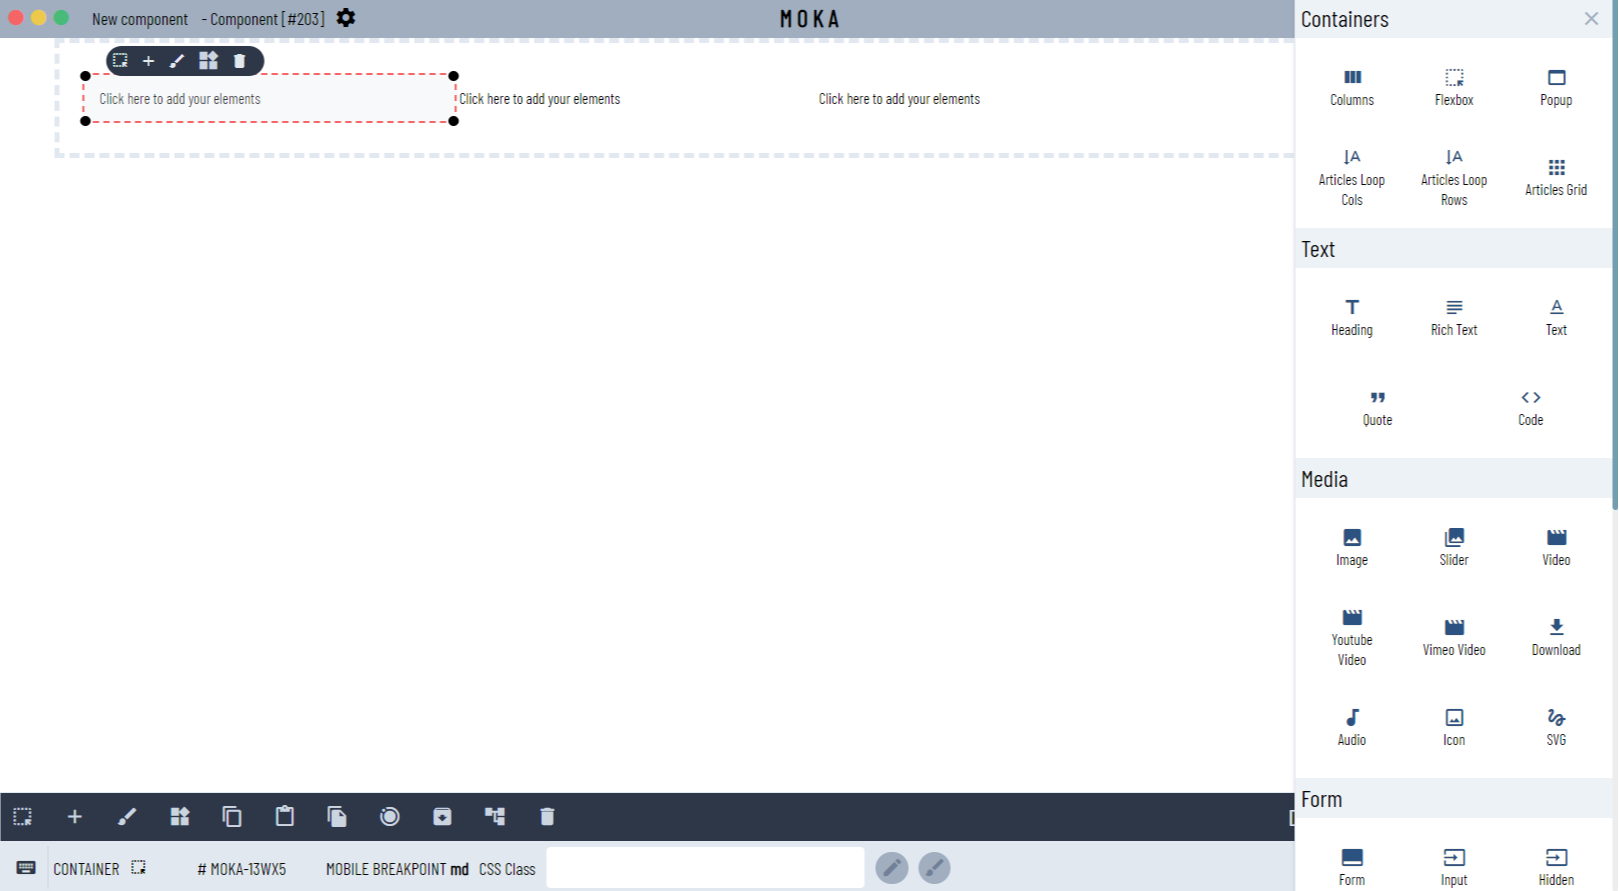
The Element selector will be displayed in a right drawer. All elements available are listed and grouped by element type.
Add a Heading element clicking on the title icon.
You will be asked which type of heading you want to add (H1-H6).
After your selection the element will be added to the editor.

Click on the heading element.
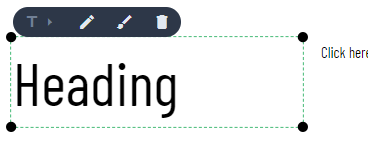
As you can notice the editor will highlight the element with a green dashed border. The green border means that the element is not a container.
Depending on the element selected MOKAStudio automatically recognize the element type and relative actions available.
# Inline editing
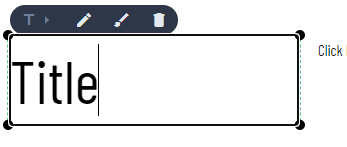
For text elements clicking again on the element you will have access to direct inline editing. Thus means that you can directly edit the content (the text) of the element itself.
# Add other elements
You can add other elements repeating the same procedure explained above.
Elements can be added only selecting a container element
# Duplicate elements
By the way you can also quickly add elements just selecting the element (any one) and duplicating it pressing Alt + d (duplicate).
# Elements keyboard shortcuts
Some keyboard shortcuts are available in order to fast edit your blocks.
# Keyboard shortcuts
This are the keyboard shortcuts available for the selected element
- Alt + i : add element (only containers)
- Alt + u : add reusable block (only containers)
- Alt + d : duplicate element
- Alt + w : edit content / add image
- Alt + z : open the Customizer
- Alt + r : remove element (confirmation required)
- Alt + c : copy current element to the clipboard
- Alt + v : paste the copied element to the current element (must be a container)
- Alt + g : copy the design settings to the clipboard (CSS classes)
- Alt + h : paste the design settings copied before and apply to the current element
Check all the MOKAStudio Editor keyboard shortcuts to speed up your workflow
# Add Reusable Blocks
Reusable blocks, Create one, use anywhere, is one of the main design concept of MOKAStudio.
Reusable blocks are full editable blocks.
When you edit, update or change any settings to the reusable block in the editor the original reusable block will not be affected. MOKAStudio just create a copy of the reusable block.
Thus means that any block you create can be saved as single, indipendent block that can be used in any other block.
This gives you the possibility to design blocks one time and then reuse them as you need.
To add a reusable block select a container and click on the widgets on the floating bar or the same icon on the toolbar or press Alt + u.
# Create a page using reusable blocks (Video)
# Reusable blocks preview
A left drawer will display in a gallery mode the blocks available. You can filter by category or search by type.
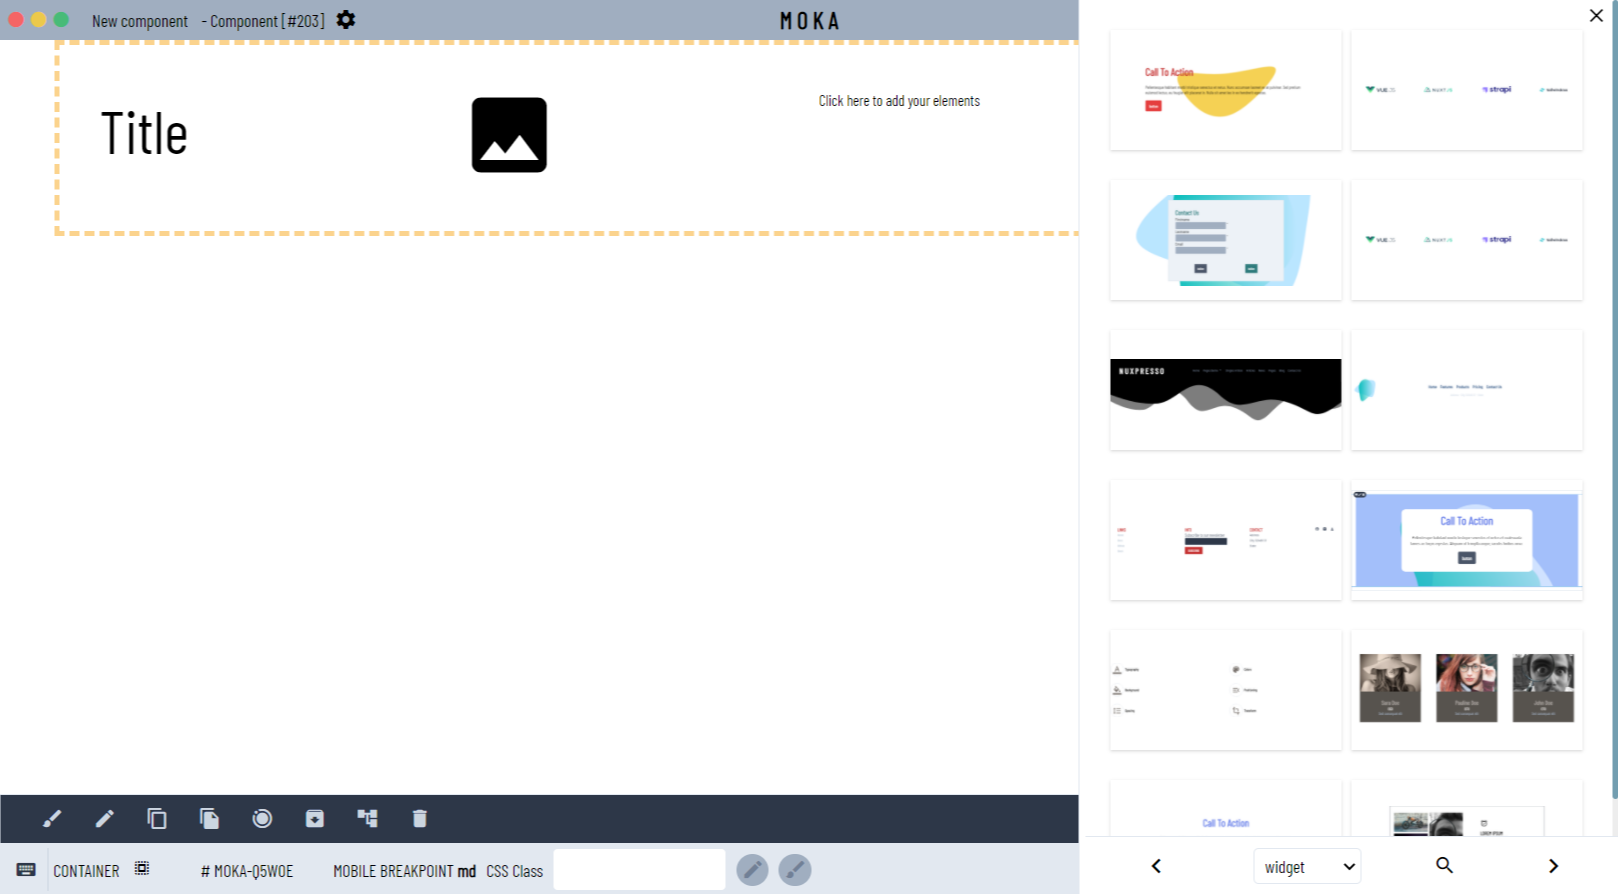
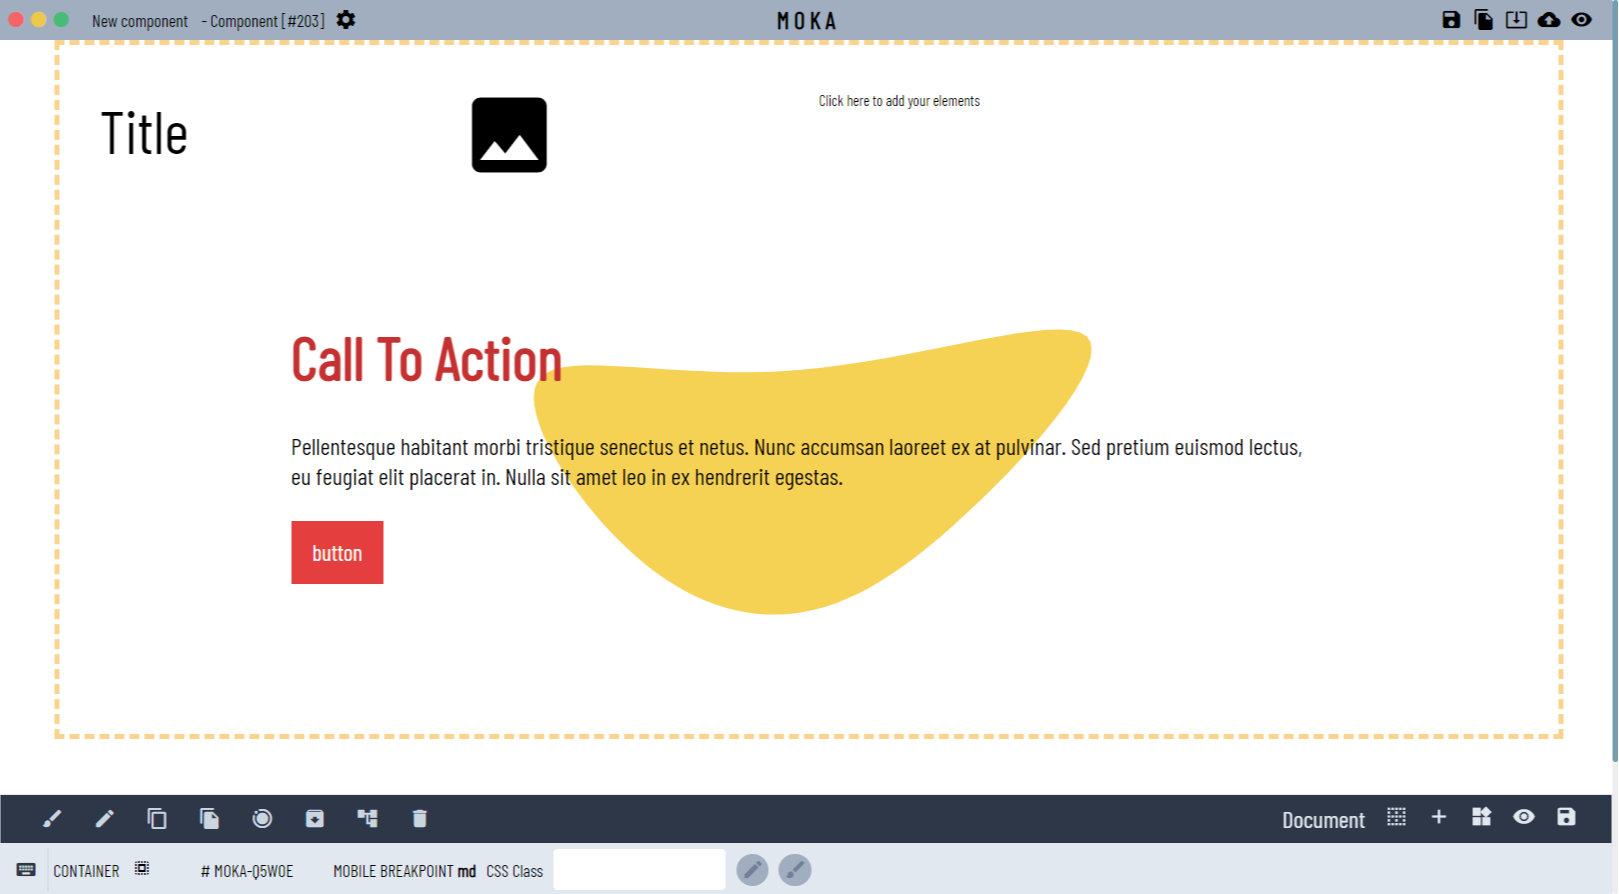
To add the reusable block you need just click on the preview. MOKAStudio will add the block to the editor.
# Save a block as reusable
As mentioned before, from the blocks editor you can create a reusable block selecting the container element and click on the archive from the toolbar.
You will asked some info about the new reusable block that will be created. Enter your info and click Save.
Usage Example
Suppose you have a header (with his own container) that is replicated among different pages or templates. When you have decided you final design you can just save the block as reusable and then import other pages, templates or whenever you need
# Remove Blocks/Elements
Blocks/Elements removal is a irreversible action. Undo action is not available in the current version of MOKAStudio
By the way MOKAStudio will ask for confirmation of the removal
To remove a block or element just click on the delete icon in the floating bar/toolbar or press Alt + d.
A confirmation modal will ask to confirm the remove of the current block/element